Tensile Test:
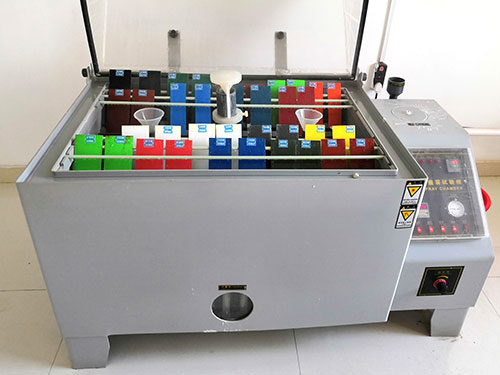
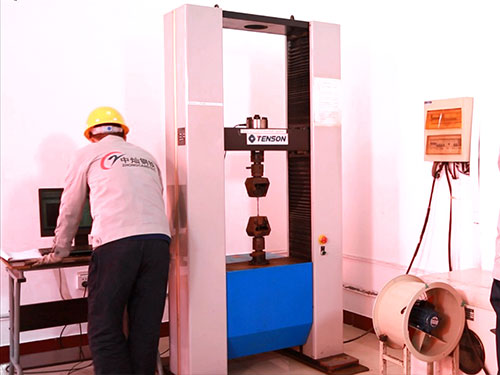
Tensile test is a test method for determining the properties of a material under axial tensile load. The data obtained from the tensile test can be used to determine the elastic limit, elongation, modulus of elasticity, proportional limit, area reduction, tensile strength, yield point, yield strength, and other tensile properties of the material. The procedure for the metal tensile test can be found in the ASTM E-8 standard. The microcomputer-controlled electronic universal testing machine is mainly used for testing various mechanical properties of various non-metal and composite materials. The professionally designed automatic control and data acquisition system realizes the full digital adjustment of the system. The collection of data, the control of the process and the post-processing of the test data during the test are all done by the computer. This equipment can automatically obtain tensile strength, peel strength, tear strength and so on. Salt Spray Test: Salt spray test is an environmental test which mainly uses the artificial simulated salt spray environment conditions created by salt spray test equipment to evaluate the corrosion resistance of products or metal materials.It is divided into two categories: one is the natural environmental exposure test, and the other is the artificial accelerated simulation of salt spray environmental test. Artificial simulation of salt fog environment test is to use a certain volume space of the test equipment - salt fog test box, in its volume space with the artificial method, create salt fog environment to test the quality of product corrosion resistance to salt fog performance.

T-bend Test:
The purpose of the bending test of the coating is to detect the flexibility of the film. It is one of the important items to evaluate the physical properties of the coated steel plate coating by measuring the crack resistance or peeling resistance of the coating when the specimen is bending. Many of the coated substrates have a certain deformability, so the coatings are also required to have a corresponding flexible fit. After the curing, the bending test of the coating is performed by bending the sample 180° around itself, and then attaching a transparent tape along the curved surface, peeling the tape while removing the air bubbles, and then quickly tearing off the curved surface in a direction of 60°. For the tape, visually observe whether the curved surface of the coating is cracked or peeled off (no peeling of the coating within 10 mm from the edge). Determine the minimum thickness multiple of the sample that does not cause cracking or shedding of the coating.

Painting Test:
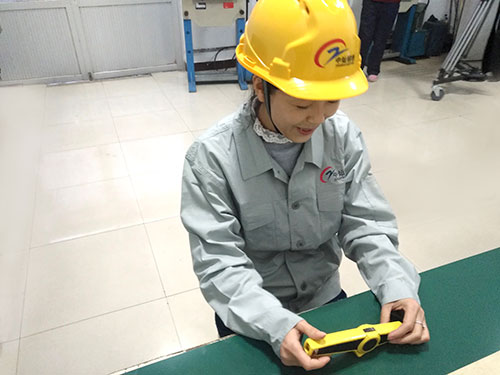
The MikroTest. Coating Thickness Gauge, measuring the thickness of all non-magnetic coatings on the steel (such as paint, powder coating, plastic, zinc, copper, tin and nickel). Rapid, accurate and lossless measurement, MikroTest has become a widely used instrument for automatic determination of coating thickness for more than 30 years. Germany's "knack" shows that it has the highest level of magnetic coating thickness gauge in terms of process technology and precision. All instruments comply with DIN, ISO and ASTM standards.

Zinc Coating Test:
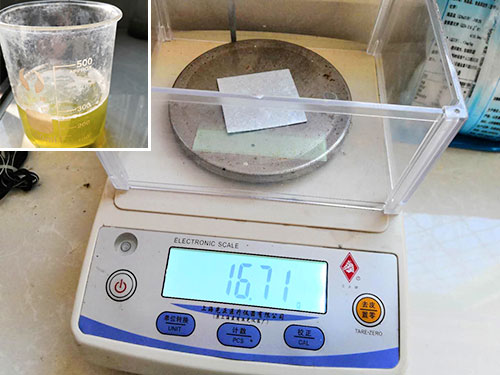
The zinc coating layer weighing method is also named as dezincification method. According to the relevant provisions of GB/T13825, dip the sample into the deplating solution, dissolve the hot dip galvanized layer on the surface of the sample, weigh the quality of the galvanized layer before and after dissolution, and calculate the quality of the hot dip galvanized layer on the unit area of the sample according to the quality loss of the sample. This method is suitable for samples with easy surface area measurement, such as steel plates, steel pipes, and steel wires. The amount of the galvanized layer measured by this method shall be converted into the thickness of the galvanized layer in accordance with the density of the zinc coating layer (7.2 g/cm3). In the ASTM standard, the density of the zinc coating layer is 7.1 g/cm3 after conversion.

Hardness Test:
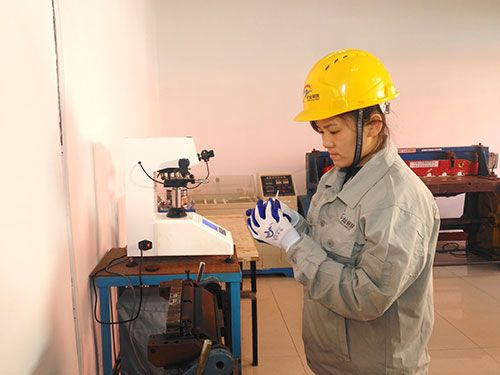
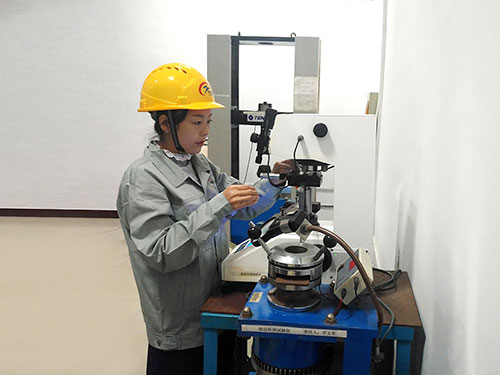
Hardness test is one of the important indicators to test the performance of materials. Hardness test can reflect the difference in chemical composition, structure and treatment process. Hardness is the ability of a material to resist the pressing of a harder object into its surface. According to the difference of test method and the range of adaptation, the hardness unit can be divided into many types such as Brinell hardness, Vickers hardness, Rockwell hardness, micro Vickers hardness, etc. Different units have different test methods and are suitable for materials with different characteristics Or occasion.

Tensile Test:
Tensile test is a test method for determining the properties of a material under axial tensile load. The data obtained from the tensile test can be used to determine the elastic limit, elongation, modulus of elasticity, proportional limit, area reduction, tensile strength, yield point, yield strength, and other tensile properties of the material. The procedure for the metal tensile test can be found in the ASTM E-8 standard. The microcomputer-controlled electronic universal testing machine is mainly used for testing various mechanical properties of various non-metal and composite materials. The professionally designed automatic control and data acquisition system realizes the full digital adjustment of the system. The collection of data, the control of the process and the post-processing of the test data during the test are all done by the computer. This equipment can automatically obtain tensile strength, peel strength, tear strength and so on.
